What is Sidechaining and How to Use it?
- Tutorials
- Brenton Fisher
- May 14, 2022
Sidechaining is a useful processing technique that can be used to achieve a clearer mix in almost any genre of music or for interesting creative rhythmic effects common in certain subgenres of electronic dance music. Whilst it may sound confusing to begin with, once you get your head around the basic principle, it’s actually quite easy to do and is one of the most important processing techniques for a producer to know.
In this article, we’ll talk about what sidechaining is, how it works, and how to use it for the best results. We’ll also go a little into what settings to use for sidechaining for the different potential use cases.
What is Sidechaining?
When we use the term sidechaining, we’re usually talking about sidechain compression. Sidechain compression is a type of signal processing that can be used to ‘duck out’ one audio track in response to a second audio signal going above a certain level.
The best example of what sidechaining does to an audio track is when you hear a radio presenter talk over the music they’re playing – the music automatically decreases in volume when the presenter talks to make it easier to hear what they are saying. It’s also used a lot in music production to make room in the mix for multiple instruments that compete for a particular frequency, or to produce creative ‘pumping’ effects around the kick and snare drum.
Bass without Sidechain
Bass with Sidechain
Bass without Sidechain + Drums
Bass with Sidechain + Drums
How does sidechaining work?
To understand how sidechaining works you first have to understand how normal audio compression works. When you feed a signal into a compressor, the compressor detects the volume of the incoming signal. When the volume goes over a given threshold (e.g. -10dB), the compressor will ‘squash’ any volume increase over that threshold by the given ratio (e.g. 2:1).
For example, let’s say you have a compressor set up with a threshold of -10dB and a ratio of 2:1. When your input signal is below -10dB, the output will be exactly the same as the input. However, when your input signal hits -8dB, it’s 2 decibels over the threshold. This means the compressor will output that part of the signal at -9dB instead because it’s only allowing the volume to increase by half as much.
The only difference with sidechain compression is that the compressor detects the threshold on an entirely different signal to the one that’s being processed. Essentially, you take the signal of the track you want to ‘trigger’ the sidechain as a side chain input – telling the compressor to monitor this signal for threshold peaks instead. The processed signal will then be reduced only when the side chain signal goes over the given threshold regardless of what volume the main input signal is at.
When should you use sidechaining?
Mixing kick drums and basslines
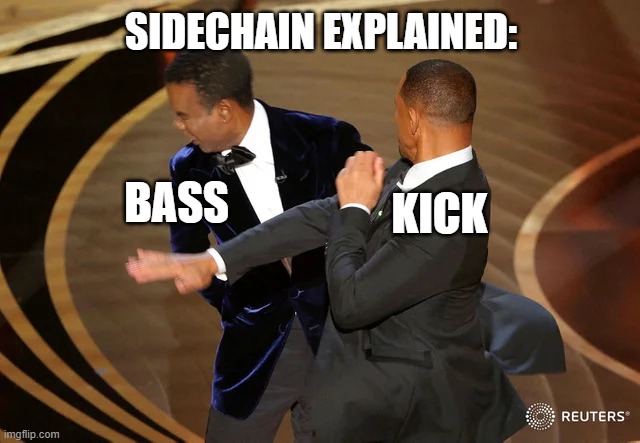
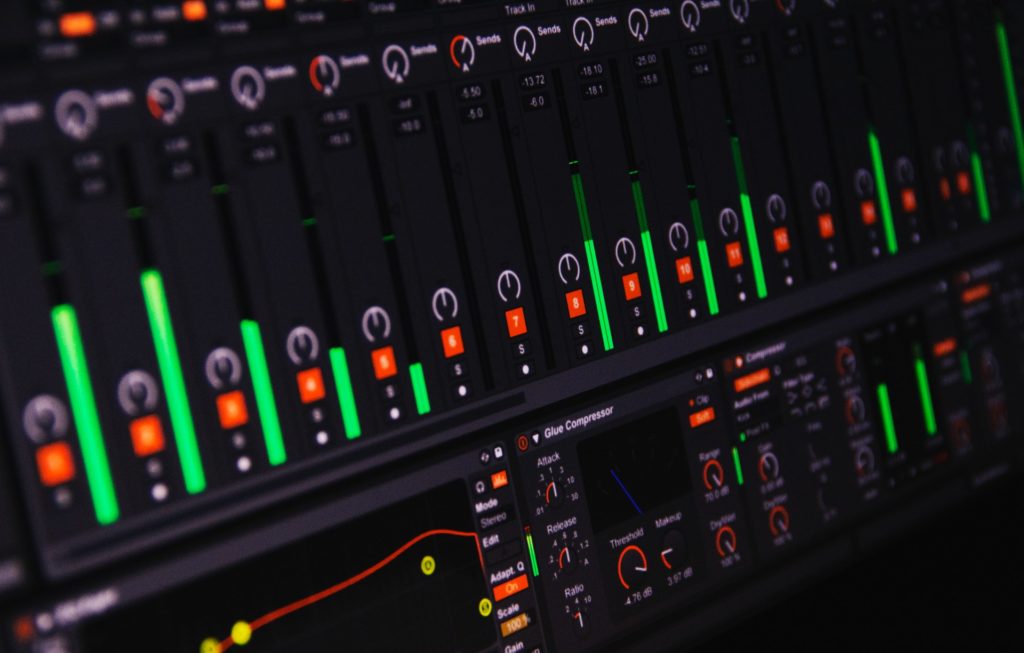
In most rock, pop, and EDM music, sidechaining is used to some extent to produce better mixes between the drums and bass. Because basslines and kick drums often share portions of the frequency spectrum, this can introduce ‘muddiness’ to the lower frequencies of a mix when they’re present at the same time. By sidechaining your bassline compressor to the kick drum signal, you can make room for the kick in this frequency pocket resulting in punchier drums and a cleaner mix.
Creative ‘ducking’ or ‘pumping’ effects
If there’s one producer that’s famous for using heavy sidechaining for its creative effects, it’s Flume. Flume can easily be associated with intense pumping and ducking effects to the sound of the kick drum. This type of effect is also commonly used in subgenres of trance, techno, EDM, and drum and bass, as well as lots of pop music. This effect is essentially an extension of the technique mentioned above.
Increasing the clarity of vocals in a mix
In the same way that radio DJs use sidechaining to ‘duck out’ music while they’re talking, sidechaining can also be used to add clarity to vocals in the context of music production. Obviously, you’ll want to dial down the effect a lot in this instance, but extremely subtle sidechaining of the vocals to the rest of the track can just help those lyrics cut through the mix ever so slightly better. The same applies to any lead instrument you want to cut through the mix.
Controlling bleed in drum mic setups
Sidechaining can be useful for mixing acoustic drums because you can use it to bring down the snare in overheads whenever your main snare mic triggers, giving you a punchier snare and a tighter, cleaner, drum mix.
Other types of sidechaining
Whilst sidechaining is most commonly used in compression, there are other ways to use it in your music production. For example, you could use a side-chained noise gate to trigger another track, sample, or instrument whenever a drum hits.
It’s also possible to sidechain specific bands of frequencies using multi-band compression if you want to duck out a troublesome frequency without reducing the volume of the whole track altogether. With a little ingenuity and creativity, the possibilities are practically endless.
There are also other ways to approach the whole sidechaining technique. For example plugins like Kickstart 2 and Dodge Pro can help you achieve polished sidechain effects with greater control and fewer steps. These two sidechain effects plugins are definitely worth exploring if you plan to use sidechaining frequently in your workflow.
What settings should I use for sidechaining?
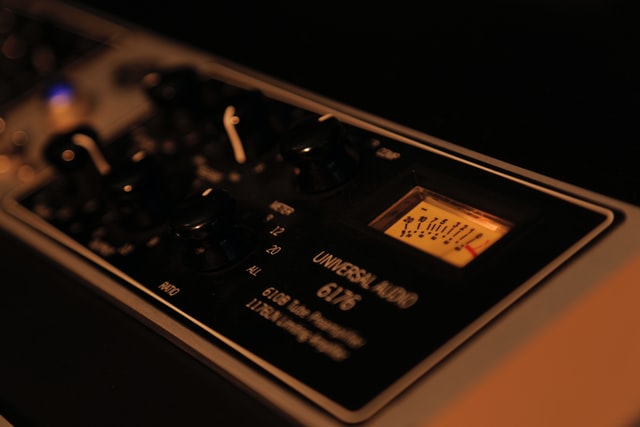
The settings you use for sidechaining depend entirely on what you’re goal is and what instruments you’re sidechaining. You also have to consider how noticeable you want the effect to be – if you’re mixing a smooth jazz record or neo-classical ensemble, you might want to keep things a bit lighter than if you’re working on an EDM track, for example.
While there are no ‘right’ settings to use for sidechaining, most DAWs and compressor plugins have presets available for specific use cases. If you do use presets, we’d recommend only using them as a starting point and tweaking things from there for your specific needs. Obviously, if you can learn to set up your compressors from scratch, this is going to make your life a lot easier and your mixes much clearer in the long term. But we will give you a quick overview of what settings to take note of below.
Ratio
The ratio is how much the compressor will ‘squash’ the volume by when your side chain input hits over the signal. Anywhere from 1:1 to ∞:1 can work depending on how harsh you want the sidechain effect to be. However, we’d recommend starting with a high ratio in order to easily set your threshold (it’s easier to tell when the compressor is being activated this way) and then tweaking it to get your desired result once you’ve set your threshold.
Threshold
The threshold is what level of volume in decibels (dB) the side chain signal has to reach before the compressor is activated. As mentioned above, it can help to start with a high ratio to see what it’s doing and move your threshold up and down until you can hear it taking effect at the right times.
Attack
Attack dictates how quickly the compressor comes into action when the threshold is hit. If you have a slow attack, the compressor will take a moment to take action creating a less jarring effect. If you have a quick attack, the compressor will cut the volume almost instantaneously.
For drum sidechaining (e.g. kick/bass sidechaining), we’d recommend using as fast an attack as possible without going all the way down to zero (this is to avoid introducing clipping issues) – a few milliseconds usually works well.
For creative pumping effects, you can get away with a slightly slower attack, and vocal/instrumental sidechaining can usually benefit from much slower attacks. You might need to use your ear and listen to what it’s doing to the sound to find the best result.
Release
If the attack is how quickly the compressor takes effect when the threshold is hit, the release is how quickly it fades off once the signal comes back down the threshold again.
Tracks that are side-chained to a kick drum usually benefit from a release that’s shorter than the space between triggering events (kicks).
Longer releases can create smoother pulsating sounds as you’d hear in a Flume track, but shorter releases can sometimes be better to keep more of the original sound in the mix. Again, use trial and error and your best judgement to find the best setting.


